


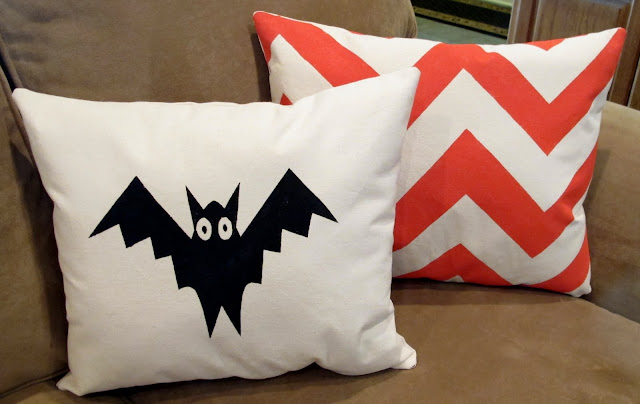
Well hello Tatertots and Jello readers!
I am so thrilled that Jen invited me to Guest Post and hang out with you all today!
Thank you so much for having me Jen! I have really looked forward to sharing this project with you all.
Today I'm sharing a tutorial on how to paint fabrics with screen print paint/inks using large adhesive labels or masking tape.
But, before I go any further and scare you away with the words "screen print", I need to tell you that:
- You do not need a screen print screen or special tools to do this.
- Secondly, screen print paints are the same paint/ink used to create professional designs on fabrics, so the end result is not a "painted on" look but rather a gorgeous professional finish like any silk screen design.
- Screen print paint has an ingredient that makes the paint/ink stay exactly where you paint it on and doesn't bleed and no color variation! You can see what I mean in this close up shot:

The best part of all, screen print paints are hanging out right under our noses and sold in most craft stores in the fabric painting section, just waiting for us!
(not to be confused with fabric paint, which is different).
When it comes to deciding on a design layout for fabric, the possibilities are endless! So far, I have worked with masking tapes for my geometrical designs and large permanent adhesive labels to create other designs. For this technique, a really strong adhesive back is the key to getting a perfect line. If you look closely, you can see how I laid out the tape and labels to create the designs on some of the pillows I have made:

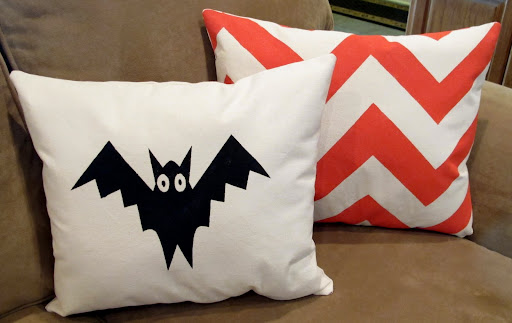
I have worked with several different masking tapes and so far, I have found that any 3M Scotch brand masking type tape works best and the paint doesn't seep under the tape.
Also, I have found that only Scotch large PERMANENT adhesive labels work as well. I haven't tried adhesive vinyls yet but I would think they would work. I suggest testing the adhesive and paint first if you're trying something new that I did not mention because I have only had luck with the scotch adhesive tapes (I sound like a Scotch infomercial, sorry!).
So let's jump right into the details and instructions on how I made these fun Halloween pillows:
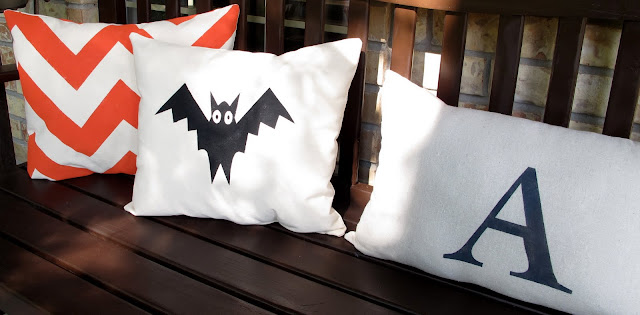
Instructions:
1) This project will work on any fabric except silk. I used canvas twill on the two Halloween pillows above. I have tried almost every fabric and it works on everything including velvet and again, the only exception that I have found is silk.
2) Fold your fabric in half (front and back of pillow) and slide poster board or thicker paper in between the top and bottom just in case the paint goes through the back of the fabric.
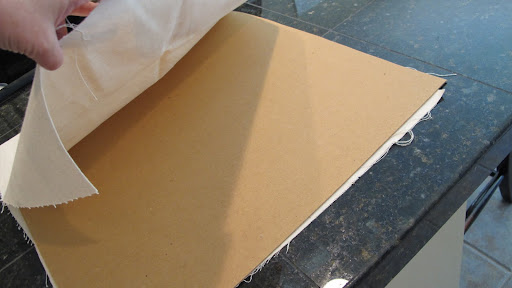
3) Pull your fabric tight and tape down to the poster board and counter. It is critical that the fabric be completely tight and flat:
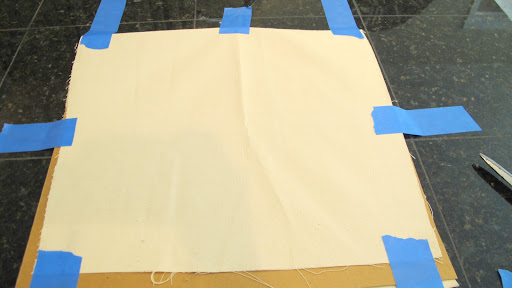
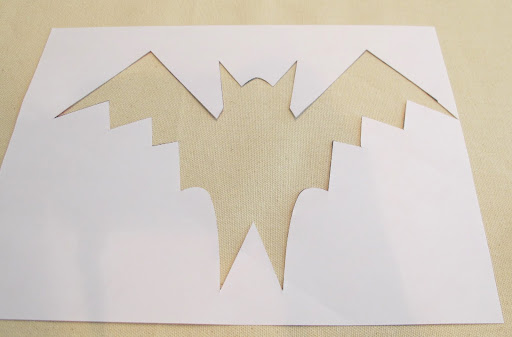
4) Next, decide on your pattern layout. For the Halloween pillows I used wide Scotch brand masking tape and for the bat I printed out my bat design onto an 8.5" x 11" large permanent adhesive label (3M). Not all tapes are created equal! If you want to try other kinds of tapes or labels, you should test them first.
I have found this out the hard way!

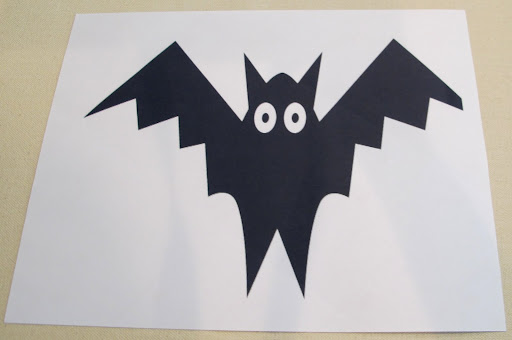
Bat design printed out onto a permanent label
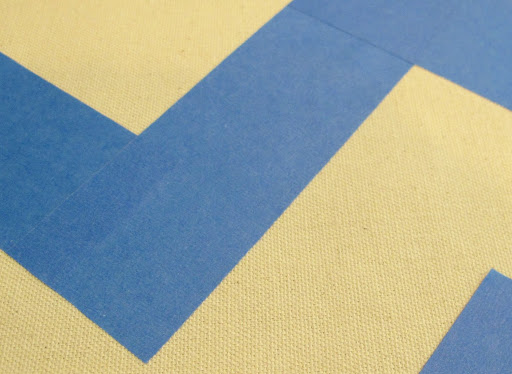
5) For my bat design, I carefully cut out the design on the label and removed the backing and placed it where I wanted it on my fabric:
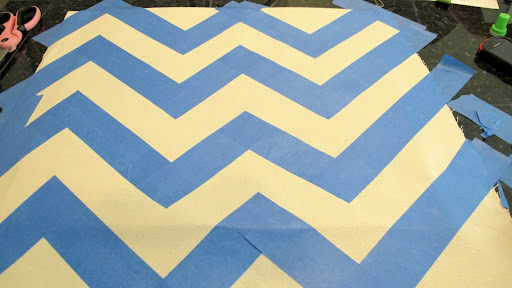
For my chevron pattern, I laid out my tape in the pattern onto my fabric and lined up the ends of the tape perfectly at each zig zag to keep the lines straight:
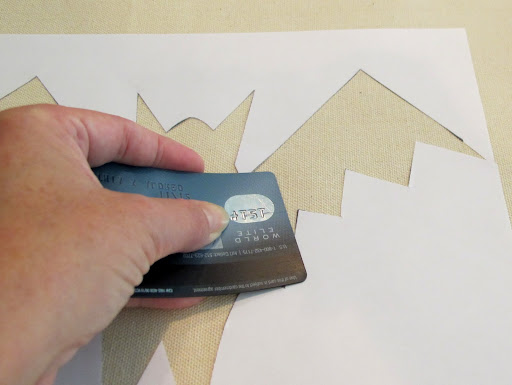
6) As you tape a line or lay your adhesive label, run your finger down the line to make sure the tape is attached. When you are completely done taping your pattern, take a credit card and glide and press down across the tape at least 2-3 times as extra precaution. It is very important to make sure that your tape is attached really good:

7) I have only used Simply Screen Screen Print paint and cannot speak about any other screen print paints. Simply Screen offers about 12 different standard colors and usually mix colors together to get my desired color.


***Mixing screen print paints together is kind of like mixing jello and you wonder if it will every mix. But, eventually, you get the right consistency and texture. If you are mixing colors, remember to give yourself ample paint because you don't want to run out of a custom mix. Also, the paint dries about 1/2 shade darker than the paint looks wet! (you can test it on fabric and dry it with a hair dryer just to be sure):

8) I tested several different paint brushes and determined that the type of brush used makes a difference. A foam brush does not work as well as an acrylic paint type brush:

Begin painting on your screen print paint to your fabric. You don't want to slop too much paint on but you want your brush pretty wet and your fabric wet as well, kind of like buttering a piece of toast:
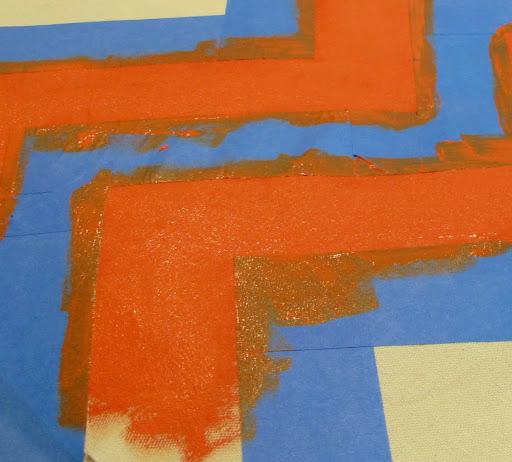
9)Go up and down and then left and right over each area. You will see what I mean as you begin painting, it's more like ink. Try and spend as little time as possible brushing along the tape lines because eventually, too much paint along the lines the adhesive naturally begins to lift. I try to get just the right amount along the lines and never go back over the lines after I have paint once or twice. Wow, I sound like a craft drill sergeant!
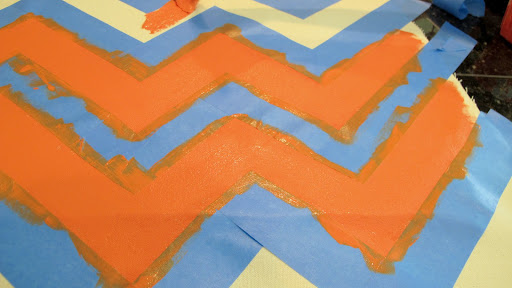
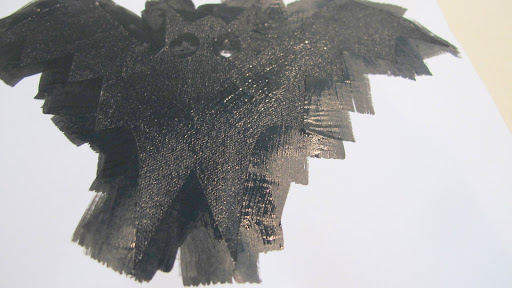
10) Screen printing paint takes a very long time to dry! Like 12 hours! However, if you put a fan on your fabric, the wetness on the tape will dry after about 2 and you can then carefully begin removing your tape. If you're like me and cannot wait 12 hours to see your fabulous results and do the "it worked" crafty dance!
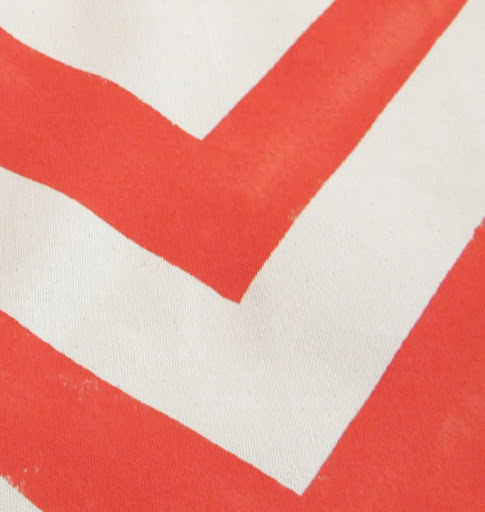
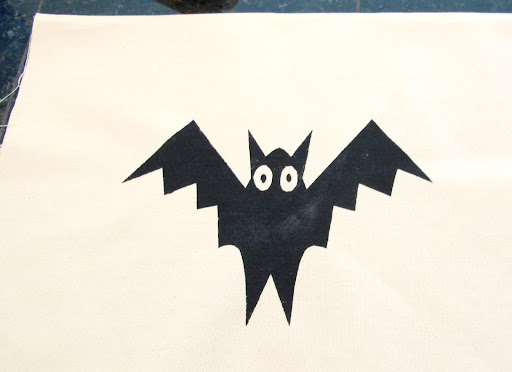
11) Screen printing paint also has to be heat set after 24 hours of drying. Just use a pressing cloth over your pattern and an iron (hottest setting) with no steam and iron the pattern real good.
You can use this technique on any fabric including for pillows, t-shirts, etc..
The possibilities are endless!
Thank you so much again Jen for the opportunity to share this project with you and the crafty TT&J readers! Cheers!

Great tutorial Cyndy!!
I have wondered what the difference is between fabric paint and screen printing paint.
I am SO excited to try out your technique!!
Here are the pillows that inspired me to ask Cyndy to guest post:

I WANT this pillow - just sayin -- check out the tutorial!

Do you remember these Poster Board Covered Trees? Love them!!

And I love this tutorial on how to create Vinyl Letters without a Machine!!
Be sure to head over to The Exchange and be inspired!!

And speaking of inspiration.... It's Friday.
My favorite day of the week!! Friday's are the day I get to feature YOU!! Come link up YOUR great ideas at The Weekend Wrap Up Party tonight. The party goes up at 6 pm MST :)
See you TONIGHT!
xoxox


