Showing posts with label kitchen. Show all posts
Showing posts with label kitchen. Show all posts
Thursday, August 23, 2012
Wooden Spoon Love
I love wooden spoons.
Not only are they a kitchen essential, they're also inexpensive to
craft with and if personalized, make great gifts for cooks,
moms, friends, from kids for teachers, the list goes on...
Take a look at the examples below and I think you'll agree!
Wooden tasting spoons
Wood burned wooden spoons from Parizadhe
Scandinavian style carved spoons
Ombre

Tuesday, March 27, 2012
Kitchen DIY
Simple & creative ideas to bring more earthy feeling
into the bright white kitchen...
 |
| Photo BoNytt Hang some old crates on the wall- great way to display your kitchen collectables and cook books. Old crates can be found from the recycling centres, antique shops or farm house auctions. |
 |
| Photo BoNytt Bring the nature inside and create your own light fitting with beautiful branch. You can also do it ECO way and hang small glass lanterns from the branch and light up the ambience with tea light candles. |
Friday, February 10, 2012
Aqua- the colour of clarity
Today I feel like aqua...the colour of open communication and mental clarity. Just focus on the color aqua,feel calm and ready to face any challenges!
Add bit of it to your interior decoration to create balance and harmony.
 |
| Photo Skona Hem |
 |
| Photo Traditional Home |
 |
| Photo Real Living |
 |
| Photo Light Locations |
Friday, August 19, 2011
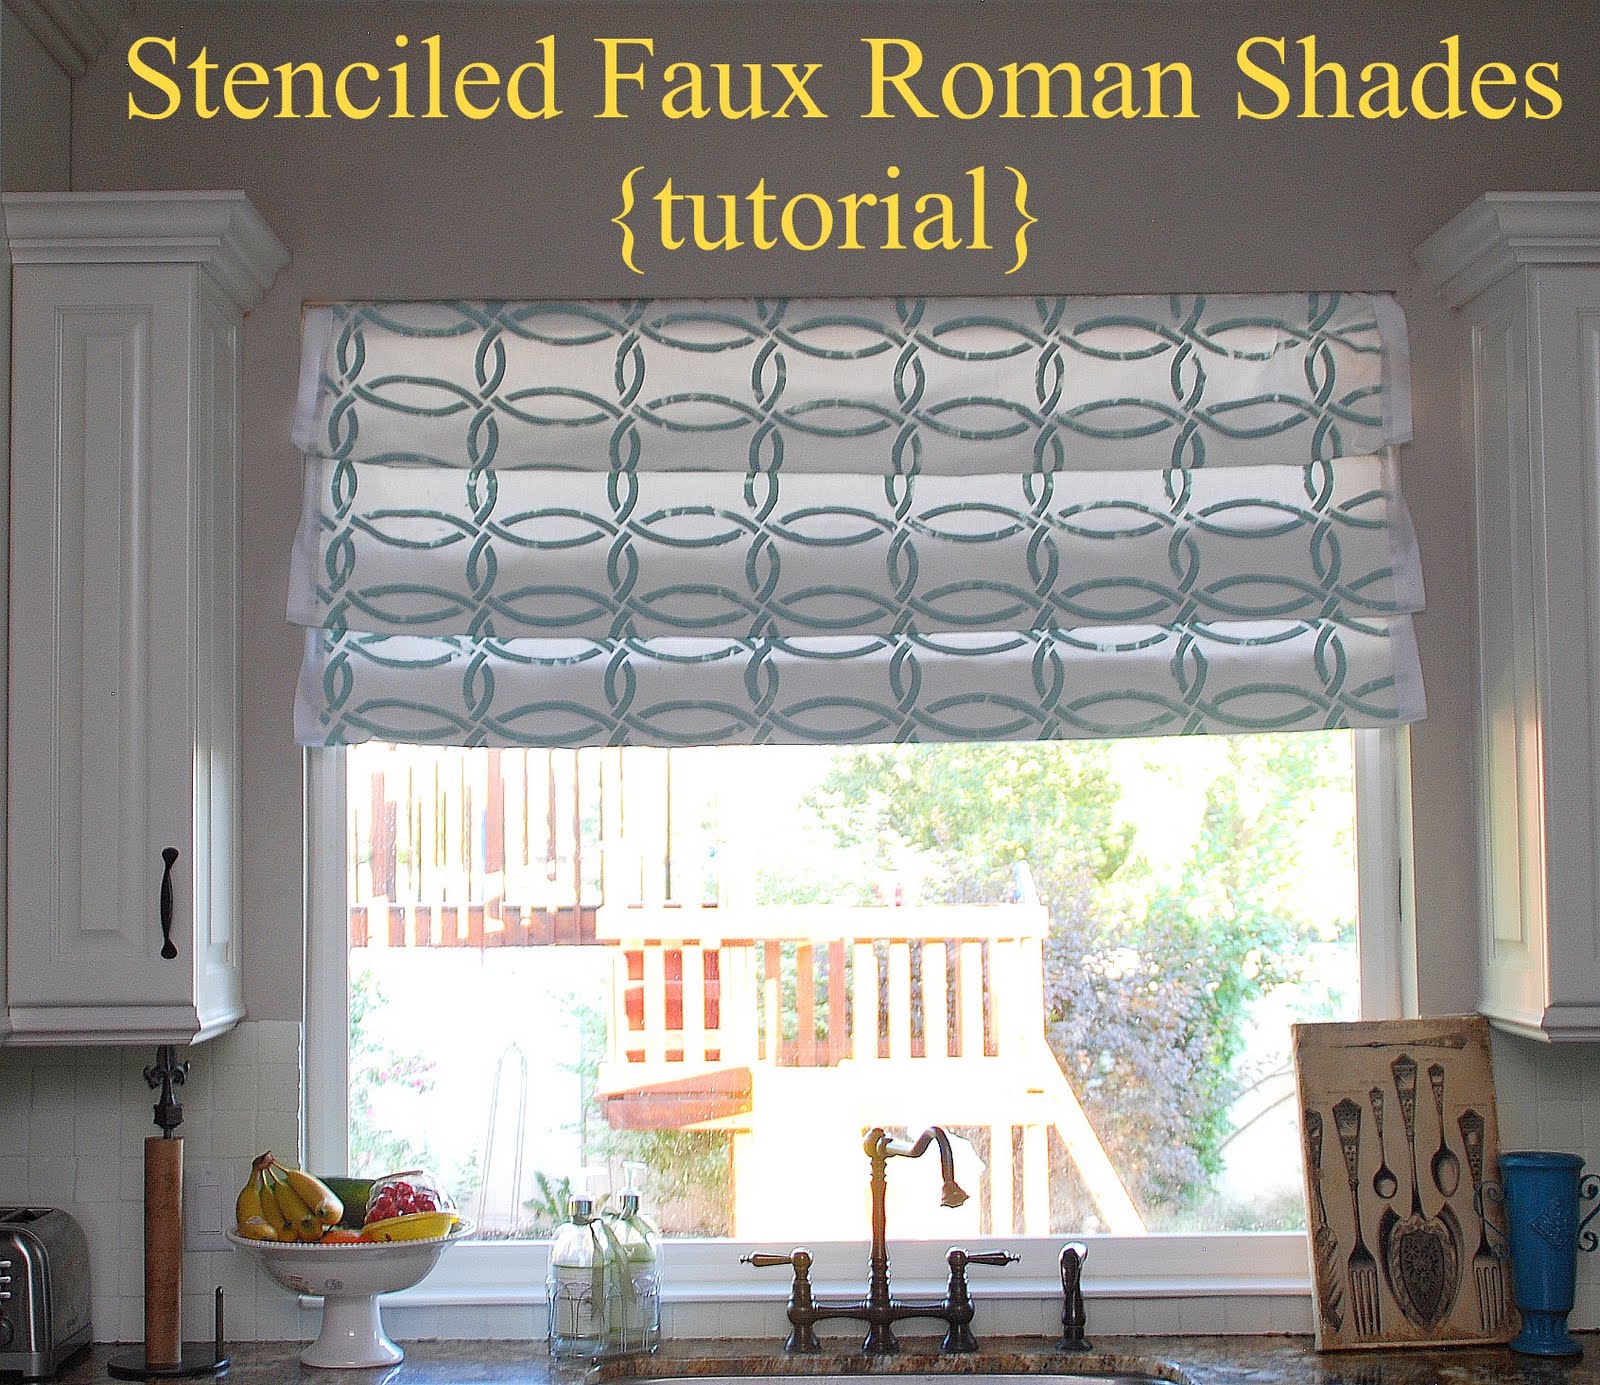
Stenciled Faux Roman Shades {tutorial} -- Kitchen Sneak Peek

I'm still working on my kitchen redo. I decided I wanted to change things up and make a Roman Curtain for the window above my kitchen sink. And in the spirit of keeping it real, I just want to let you know that the first version was a total sewing fail. I tried to make it no-sew AND Faux and let's just say that hot glue and white canvas do not mix LOL!

So I started over.

Here's what I did:

1. I measured the window and added 3 inches to the length and 2 inches to the 2width. I used my Royal Design Studios Stencil -- Chain Link.
2. I found the easiest way to stencil the pattern was the Roller Lite Touch Up Kit from Home Depot.
3. I laid the stencil on the upper corner of the canvas.
4. After each section, I matched the existing stencil up to the hash marks to be sure it was straight.
5.I did this until the whole fabric was covered.
6. I used a iron to heat set the paint into the canvas.
7.I used an old bed sheet to make a liner. I stitched the sheet to the canvas, making a "pillow case" and then folded 2 inches at the top over to make room for the spring rod.
8. Then I inserted the rod into the casing and hung the curtain.
Keeping it real -- I discovered that the curtain was a little small for the space, so I sewed some white grosgrain ribbon on each side of the curtain to make it fit the space better. I also think it dresses up the curtain.

After I made the panel, I posted about it on my TT&J Facebook page, and mentioned was going to make it into a regular roman shade and then Richella from Imparting Grace sent me an email and told me about her "Faux Roman Shade Tutorial" and it was genius.
![[IMG_3532_2_4.JPG]](https://blogger.googleusercontent.com/img/b/R29vZ2xl/AVvXsEh0ZEX1-oCNSqSWjlHdRa1FpwgI0ou9_zZ3JN7BlVIdqhohs0Kr4ykOCtVSIXORKS4onVvi4ZdfKuIzp_EUkrY2XKr2u0IbIoNXtJ_hA8aDBpinnhtUMD2PKU-qI6nHaFN8qp-lhd1N-Z8/s220/IMG_3532_2_4.JPG)
So I did that! I just inserted two more adjustable spring rods in the window opening and then just folded the panel over the rods to create panels. Be sure to check out her tutorial for more details!!

Super easy. And since I don't really need privacy in this window since it overlooks an open space, I thought this was a good solution!

I love that the paint in the curtain is the same as my kitchen island!!

It was hard to get a picture of the actual color of the paint since the sun coming in the window made the paint look so much darker than it really is. The paint is really a really light bluish-green color. The name of the paint is Martha Stewart Rainwater.


I have to say that I love Royal Design Studio Stencils. Their stencils are made out of a heavier material that doesn't stretch, like some of the other stencils I have tried. And my favorite part? They have marks on the stencil that line up with the previous stenciled areas. So it is super easy to keep the stencil straight and lined up! And I love all of their modern designs!! You can find out about all of their designs at their main website!

Have a Colorful Day!!
xoxo
PS -- It's Friday!! My favorite day of the week!! Why?? Because it's the day I get to see what YOU have been working on and feature YOU! Come link up YOUR ideas at the Weekend Wrap Up Party!! It starts at 6 pm {mst}.

And, Are you getting for Back to School?? I am sharing NINE Back to School Printable Ideas over at Babble's Home Ec!!
PPS -- I am linking up to these fun parties - check them out!


Tuesday, August 9, 2011
Kitchen Remodel Sneak Peek -- and a Painted Pantry Door!!

I’ve spent a large part of the summer working on a kitchen/family room remodel.
It started off with my entertainment center redo. And then morphed into painting the kitchen cabinets and island, a slipcover for my sectional, painting my kitchen and other related projects. I think my husband is afraid that this project is slowly encompassing the entire house (shhhhh -- he may be right).

I have a hard time showing little projects along the way. I always think that everyone likes the complete reveal. My friend Shelley was saying that I should do some updates along the way.
So I thought I would share my pretty painted pantry door today.

I love the turquoise and aqua tones that are so popular right now.
They are so soothing. So much of my kitchen and family remodel focuses on these shades, as well as neutrals like grey and white. I thought it would be fun to add a bright POP of color in the kitchen with a happy pantry door.


I mixed a little Martha Stewart Rainwater, along with some Lagoon and painted the door. I found it so much easier to do once the door was taken off the hinges. I used an eggshell finish, but I saw a door that was done in high gloss and it looked awesome. I may be painting it again with the high gloss. I think the contrast would look great against the matte grey walls.
Here’s a before picture:

I am still looking for a really cool doorknob to add. Here are a few I am thinking of:
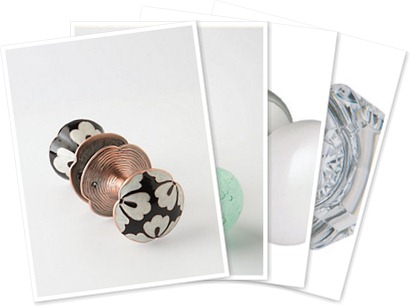
I might just buy another doorknob like the one that I put in my Beachy Laundry Room:

I also miss my chalkboard on the front – it was a great place to put our menu for the week and who was cooking each night. I have quite a bit still to do on the kitchen – today I am working on making some DIY no-sew Roman Shades. Plus, I have a wall treatment I am doing on two of the walls. And a few other things before the big reveal!!

Here are a couple more sneak peek pictures:


{this is the color of the kitchen island -- isn't it fun?}
In the meantime – look at these fun painted pantry door ideas. It’s a great way to bring a POP of color into your kitchen. And if you don’t have a pantry, what about an interior door?
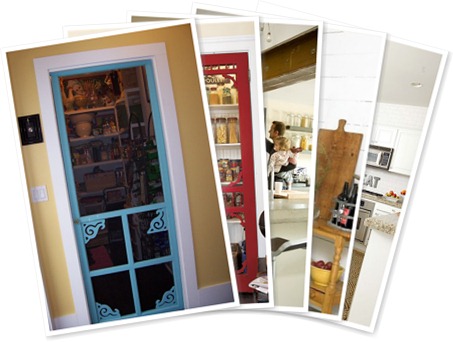
1. Blue Screen Door -- Coastal Living
2. Red Screen Door -- Country Living
3. Chalkboard Door -- Apartment Therapy
4. Brown Painted Door -- C Designs
5. Blue Painted Door-- Me & My
Have a {Happy} Day!!
xoxo

PS -- Come over and join me in the International Coffee talk community. We're discussing all sorts of topics that relate to women. It's a great place to connect with people!!
Friday, July 22, 2011

Tuesday, July 19, 2011
Create a Kitchen Focal Point -- with a beadboard cabinet backsplash for less than $10!!

Here's a quick update on the kitchen makeover --
the cabinets are painted!!
And last night I added a little detail with some beadboard open shelving.
It's so easy to do!!
All I did was take two cabinet doors off.

Then I bought a sheet of beadboard.
I measured the openings of the cabinets, and the Home Depot guys cut it for me.
So easy!!
A sheet of beadboard was $20 and I used less than a third of a sheet for this cabinet.

I bought a sample size of paint -- less than $3 for the paint and got myself an instant kitchen focal point!

The color I chose was Martha Stewart Rainwater.

I painted the beadboard and then placed it behind the shelves.
The shelves hold the beadboard in place. So I didn't need to even attach the beadboard with adhesive.

Such an easy project.
And I love the POP of color it adds to my kitchen!!!
(here's a little before shot):

xoxo
I am so excited about this Kitchen Makeover.
I can't wait to share the whole thing with you!!!
xoxo
PS -- Another fun "Summer Social" project coming up in the morning from one of the funniest and awesome bloggers around :)
Subscribe to:
Posts (Atom)


Home & Garden listings

Oferty i praca w Zarabiaj.pl

Hotell i Barcelona